In the world of email marketing, personalization is no longer optional—it’s a necessity. According to a study by Campaign Monitor, emails with personalized subject lines are 26% more likely to be opened, while segmented email campaigns can generate up to a 760% increase in revenue. Considering these resounding analytics, it’s clear that sending the right message to the right audience at the right time is critical to your email marketing success.
But how do you go beyond just inserting someone’s first name into an email?
The answer lies in leveraging tools like conditional merge tags, which are available in sending platforms like Mailchimp, and combining them with tools that can handle sophisticated email logic, like Beefree.
These tools allow marketers to create hyper-targeted email experiences that speak directly to each recipient’s needs, preferences, and behaviors.
Let’s walk through how you can design beautiful, personalized emails for Mailchimp using Beefree.
Understanding Mailchimp’s capabilities and limitations
With over 11 million users, Mailchimp has established itself as a leading marketing platform that empowers marketers to deliver targeted and timely campaigns effectively. Among its robust features, its automation and segmentation capabilities stand out.
Mailchimp’s advanced segmentation tools allow you to target users based on behaviors, tags, or custom data, ensuring your messages reach the right audience. Meanwhile, its automation features make it easy to set up workflows, enabling you to deliver the right message at the perfect moment.
However, Mailchimp does have some limitations. Many users encounter a steep learning curve, and the platform's higher price point can be a concern. More importantly, users often find its design capabilities somewhat lacking, which can hinder their ability to create visually compelling and truly personalized campaigns.
This is why many choose to use Beefree in conjunction with Mailchimp. This easy integration allows marketers to leverage Mailchimp’s powerful segmentation tools to categorize subscribers based on various criteria such as demographics, purchase history, or engagement levels. They then use Beefree to design personalized emails that align with each group's preferences and behaviors.
Thanks to Beefree’s seamless integration with Mailchimp, users can easily export their emails and utilize Mailchimp’s automation features to trigger these personalized messages. This synergy between Beefree's design capabilities and Mailchimp's automation and segmentation features maximizes engagement and conversion rates while enhancing the overall customer experience.
How to personalize mailchimp emails in Beefree
The foundation of a successful personalized email campaign is a well-designed email that adapts to different audience segments. Beefree makes this process simple with its drag-and-drop editor.
Step #1: Start from a template
If you’re not sure where to start in creating a personalized campaign, Beefree offers an extensive library of Mailchimp-compatible templates.

Begin by selecting a template that aligns with your campaign's objective, whether it’s a promotional email, newsletter, or seasonal message. You can then leverage Beefree’s modular editor to infuse your brand into the emails and add content blocks and interactive elements that are specific to different audience segments.
Within the editor, tailor your email to offer unique experiences for mobile viewing using Mobile Design Mode.
Step #2: Add merge tags
Merge tags are placeholder text that gets replaced by subscriber-specific data when the email is sent. Here’s how to use them in Beefree:
- Choose the section of content where you want to insert a personalized element. For example, you can add a placeholder for the recipient’s first name.
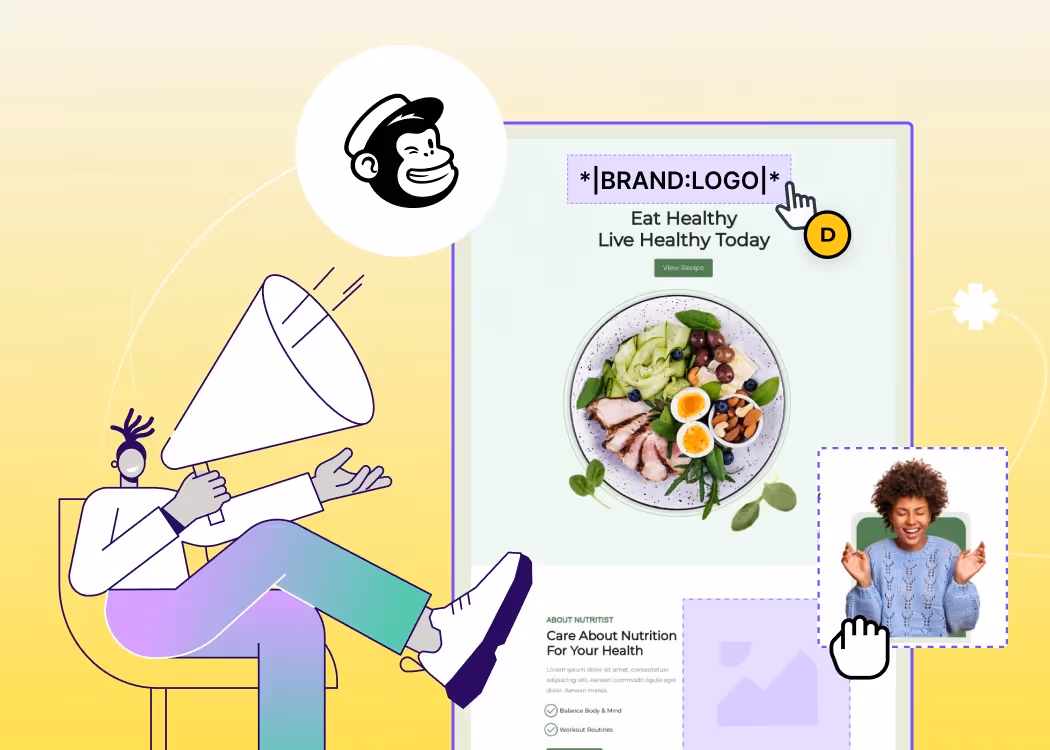
- Insert the Merge Tag – In Beefree, select an existing MailChimp merge tag or create a new one. You can select or add the |FNAME| tag for the recipient’s first name. This turns a generic greeting into something more personal. “Hi |FNAME|” becomes “Hi Jane” when Jane receives the email.
You can refer to Mailchimp’s Merge Tag Cheat Sheet to find additional merge tags you can easily copy and paste into Beefree to customize your email.
Step #3: Apply display conditions for personalized rows
You can set up rows of content that display only to certain segments of your audience using Mailchimp’s conditional merge tags.
These tags are snippets of code that control whether a section of content should appear based on specific data, such as whether someone is a VIP or a new subscriber.
Here is an example scenario: You want to show a special offer to VIP customers and a different one to new subscribers. To achieve this, you’ll use the following before and after logic in Beefree for the row containing the content for VIP customers:
*|IF:VIP="yes"|*
Hey *|FNAME|*, as a VIP, you get 20% off!
*|END:IF|*
For new subscribers, you’ll use the following before and after logic in Beefree for the row containing the content for new subscribers:
*|IF:VIP="no"|*
Welcome, *|FNAME|*! Get 10% off your first purchase.
*|END:IF|*
This logic ensures that only VIP customers see the first row, while new subscribers see the second one.
Implementing Display Conditions in Beefree
Display Conditions in Beefree apply to entire rows, allowing you to show different rows to different groups of recipients. This feature is incredibly useful for dynamically personalizing content at scale.
Here’s how to apply this logic in Beefree:
- Select the row that contains the personalized content.
- Set the Display Conditions – In the settings for that row, click “Display Conditions.” Copy and paste your Mailchimp logic (as shown above) into the condition box to control who will see the content.
- Repeat for other rows – If you have multiple rows with different offers or content for different segments, repeat the process, applying the appropriate logic for each row.
Optional: Multilingual designs
Beefree’s Multilingual Designs enable users to design emails in multiple languages effortlessly. This is particularly beneficial for brands targeting international markets or diverse communities.
Designing for multiple languages in Beefree:
- In the editor, click on the globe icon on the top bar
- Select a primary language from the drop-down menu
- Select the number of additional language (this varies by plan)
Once you add your Primary and Additional languages to your Multilingual Settings, you can add your translated content to each language design. The fastest way to translate your emails is by using Beefree’s AI Assistant.
Step #4: Exporting your design to Mailchimp
Now that your email is designed with dynamic and personalized content, it's time to export it to Mailchimp, where you’ll handle audience segmentation and send the email.
- In Beefree, click “Export” and choose Mailchimp as the destination.
- Link your Mailchimp account – If it’s your first time, you’ll need to link your Mailchimp account to Beefree.
- Review in Mailchimp – Once the design is exported, log in to Mailchimp and check the email. Use Mailchimp’s preview tools to ensure your Merge Tags and Display Conditions are functioning correctly.
Ready to create more personalized emails?
Beefree and Mailchimp provide marketers with the perfect blend of design flexibility and powerful automation, enabling them to craft visually stunning emails that resonate with your audience.
Start harnessing the full potential of your email campaigns today with Beefree.