Email geeks, have you heard how easy it is to use BEE and Mailchimp together—for free? Thanks to BEE's exciting partnership with Mailchimp, you can now use our free HTML email templates and editor to build a gorgeous email, then upload it to Mailchimp to send to your audience. And since BEE has plenty of ready-to-use responsive email templates for you to customize, the design process is super quick and simple. Read on to see how it's done!And click here to watch our video tutorial:
Step 1: Design your email in BEE Free
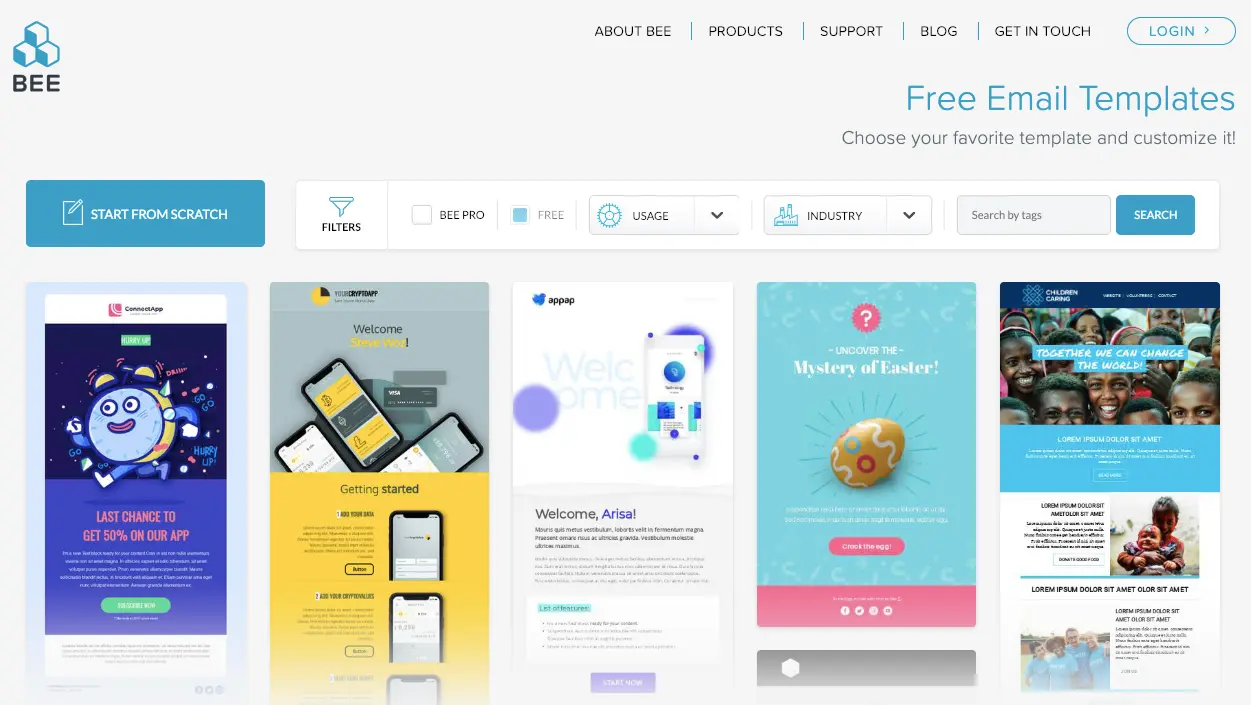
First things first: Go to beefree.io/templatesto scan through more than 200 professional HTML templatesto get started. You don't need to register or log in to use the editor, and all the templates are free. (Check the "free" filter in the navigation bar). You can filter by industry, purpose/occasion, or search by tag to find the template that's perfect for you—from newsletter templatesto event promotion templates. Or of course you can just scroll and browse.
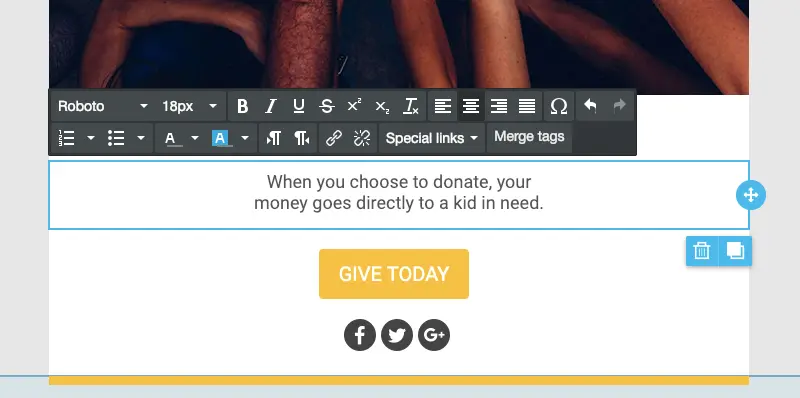
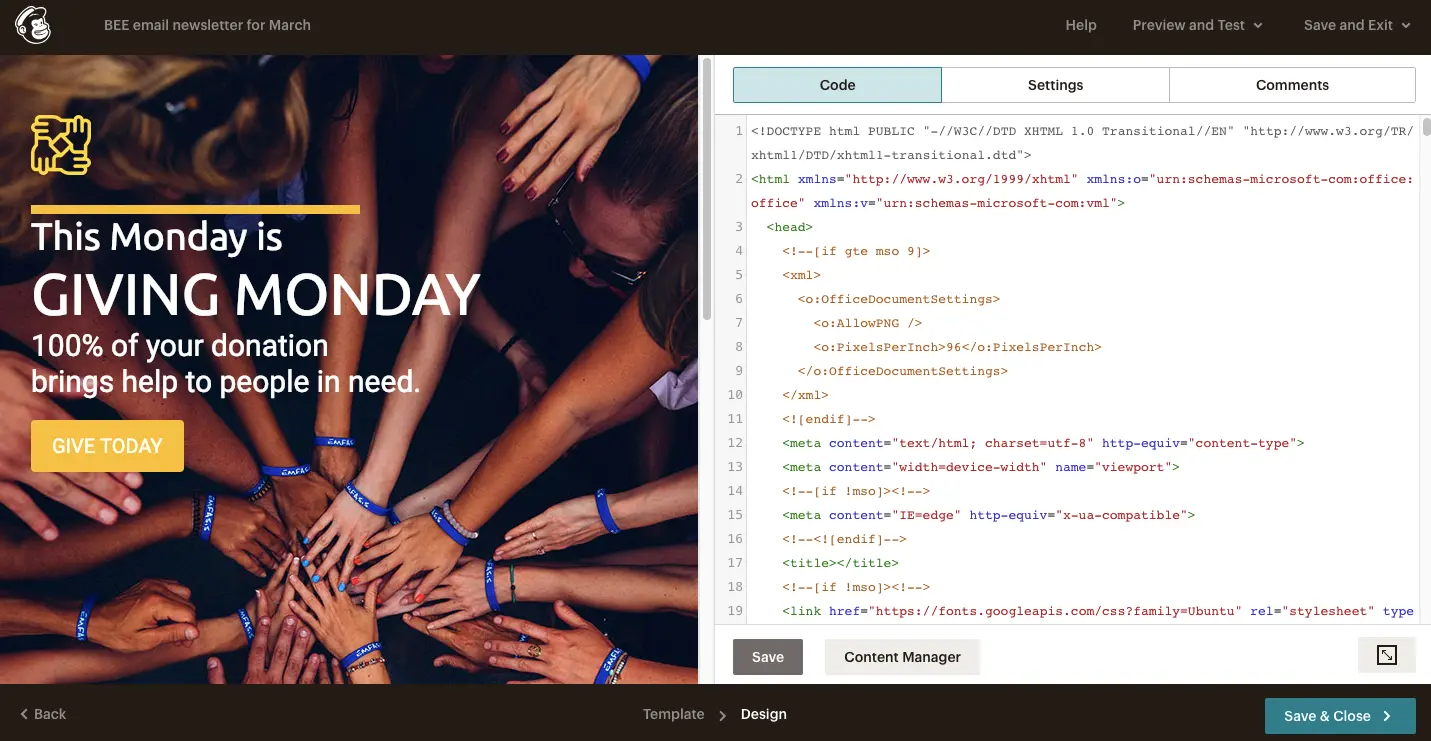
Whichever template you select, remember these are custom email templates, and you can completely customize thembefore sending them in Mailchimp. Add your own text and images; change the fonts and font sizes; update the CTA button color and size, and more. Not in the mood for a template? You can also start from scratch!Today we chose a Giving Monday template to get us started—
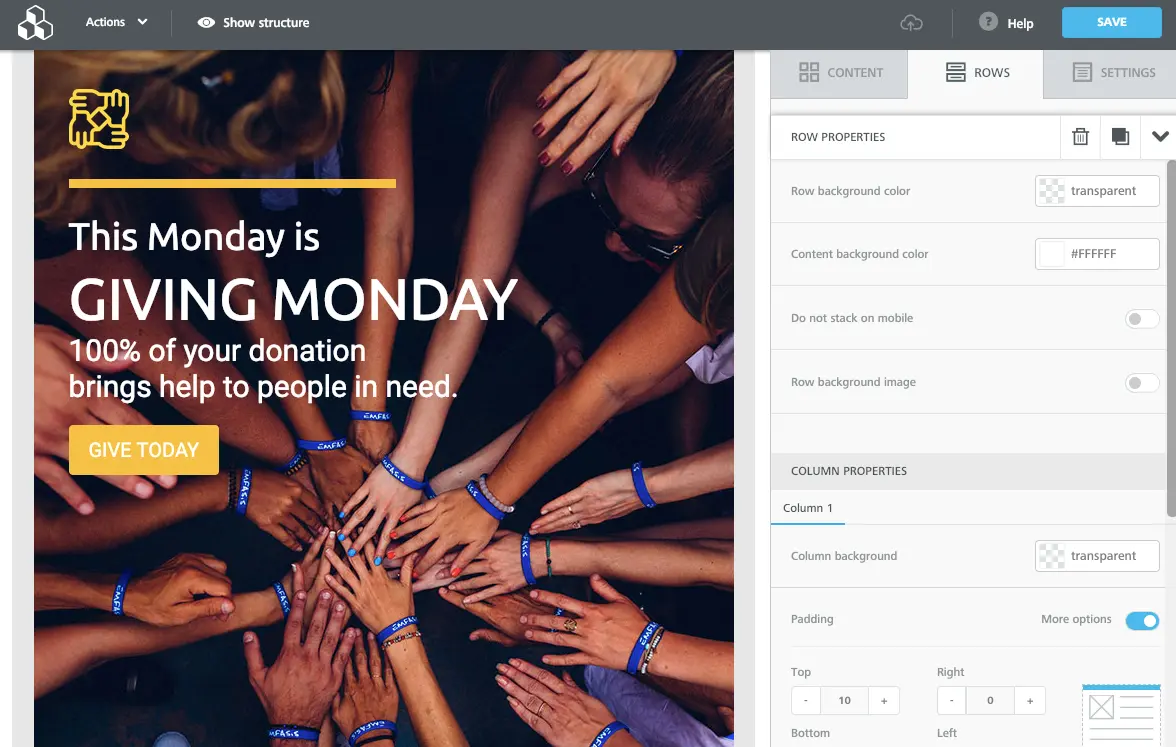
At minimum, we'll plan to update the body text and link the buttons and images.
Remember to preview or test your email at any point using the Actions drop-down menu in the upper left. Once we're satisfied with our message, we can click the blue "Save" in the upper right corner. After saving, we're prompted to either download our email or edit and save it in BEE Pro. Today we'll stick with BEE Free and download it. (This downloaded zip file is exactly what we'll upload to Mailchimp!)
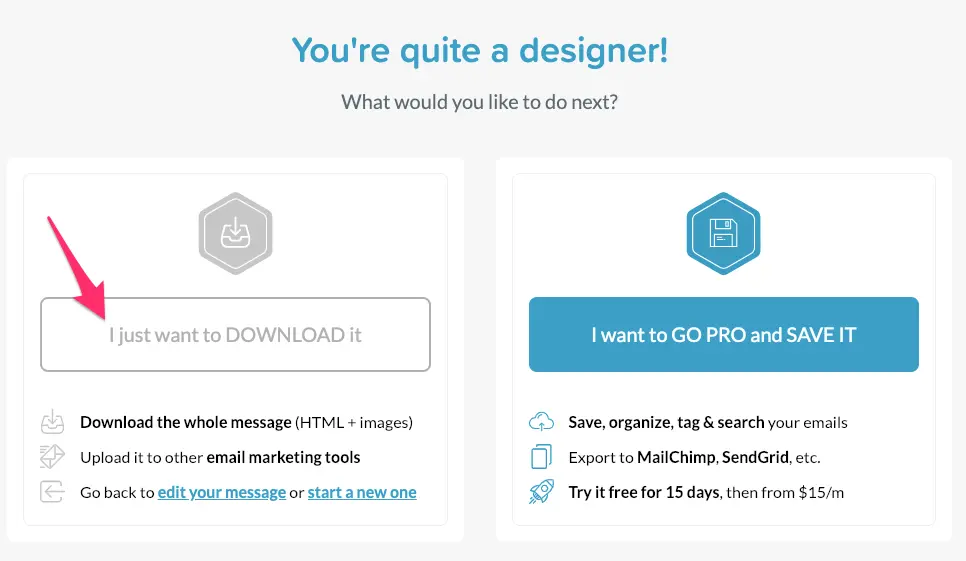
Psst: If you do want to try BEE Pro, you can start with a free trial to test out all the bells and whistles. BEE Pro lets you connect with Mailchimp directly, so you can "push" your email straight from the BEE editor to Mailchimp to send. It's another great easy option for email marketers and designers interested in Mailchimp email design.
Step 2: Upload your customized email to Mailchimp and send
With your beautiful email downloaded and at-the-ready, it's time to log into Mailchimp. Once you sign in, go ahead and create a new campaign.

Choose email (duh).
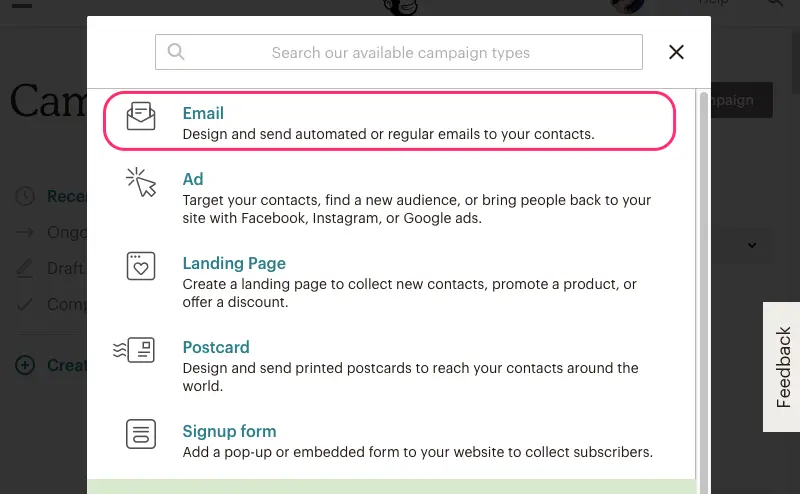
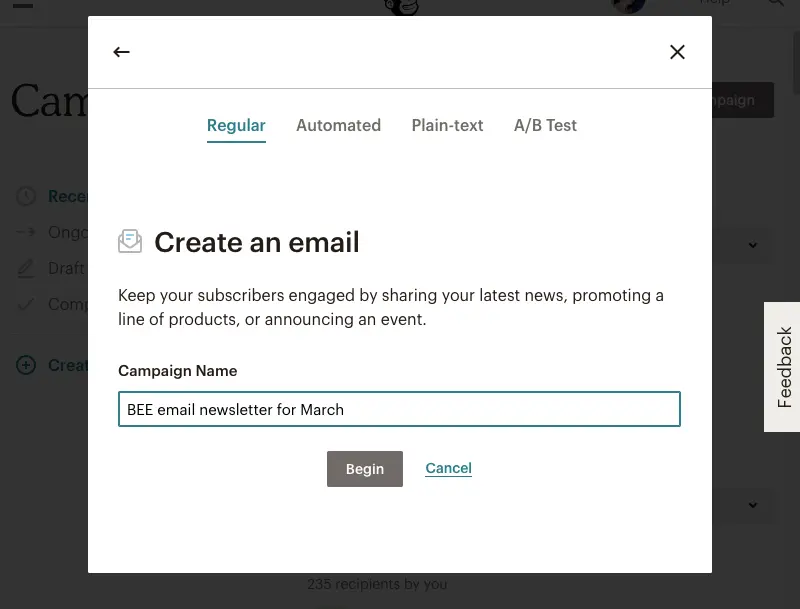
And then name your email campaign.
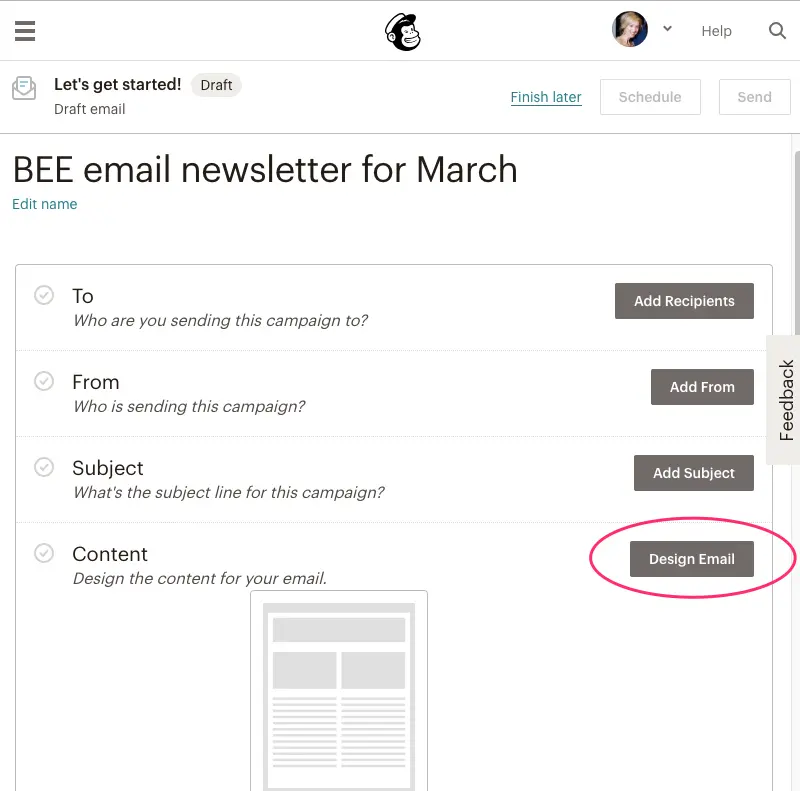
With your new campaign all set up, you can go ahead and customize your To, From, and Subject fields as usual. To upload your BEE email, click Design Email.
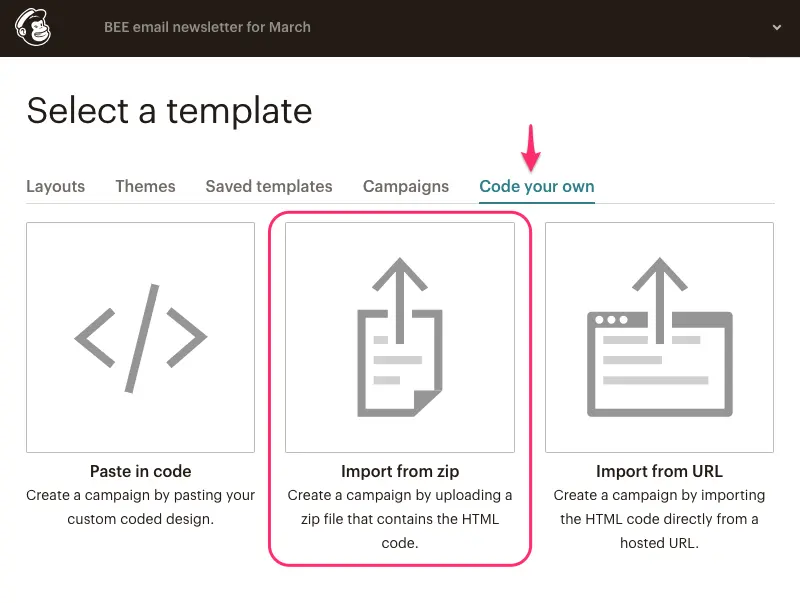
On the following screen, navigate from Layouts to Code your own. Under Code your own, you'll see options to paste in code, import from zip, or import from URL. Choose Import from zip.
In the pop-up screen, go ahead and find the zip file you downloaded from BEE (hint: your email is inside ;)
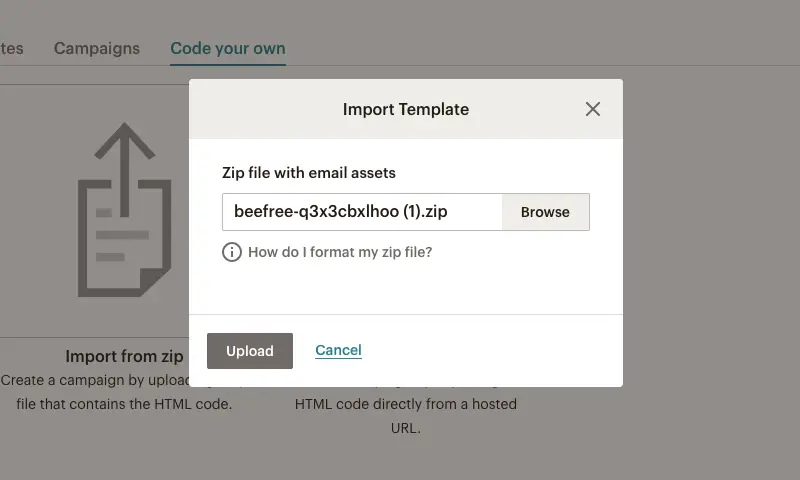
Once you click upload, voilá! You should see your BEE email appear.
After you save and close your email, you can preview, send a test email, then schedule or send just as you would any other Mailchimp email. It's that easy.Lots of folks searching for Mailchimp email templates choose to use BEE to design their campaign, then Mailchimp to send it. Why? Because BEE offers users a unique level of design flexibility. The tool allows designers to customize their layouts precisely (e.g., switch from a single-column design to a 4-column design), adjust the padding on images, and so on. Designers like the control they get with the BEE editor, and now they can design in BEE and send in Mailchimp, one of the most popular email marketing platforms around. If you give this method a try, let us know how it goes! And happy designing.