
Email designers know that email borders and padding can make for greatdesign—it's about what you include as much as it is about what you leave out. Being sparing and selective about your design is particularly important in emails, where space is limited. This is why we often talk about the significanceof simplicity, white space, hierarchy, and organization.In this workshop, we'll review the ways in which the Beefree editor allows you to adjust email borders and padding. When you know how to fine-tune these elements, you canimprove your design quickly and efficiently, and without having to touch the HTML code!We will cover how to:
- Add borders around any email structure (e.g., between rows or columns)
- Add a border around an entire email
- Change the color, width, and style of borders
- Use and customize the divider feature
- Adjust padding around any content element or structure (e.g., text blocks, images, buttons, etc.)
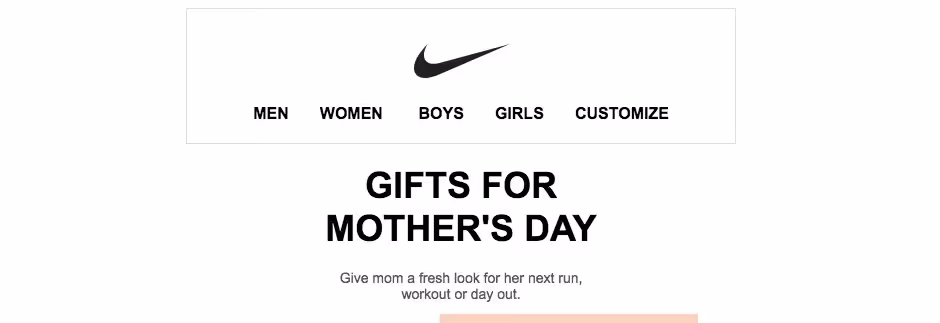
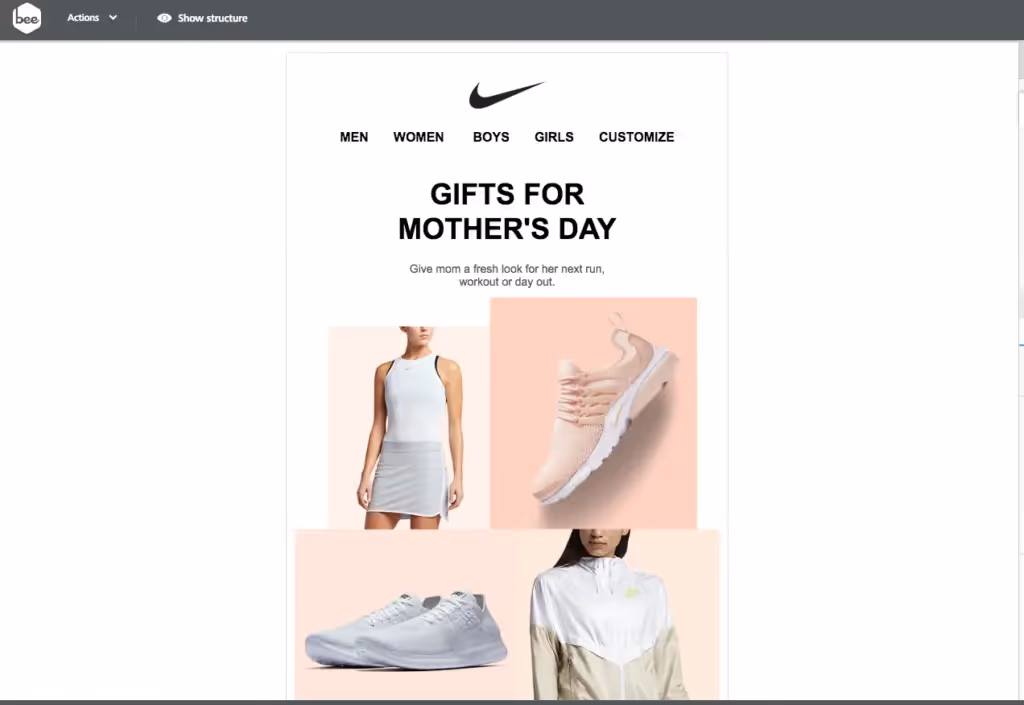
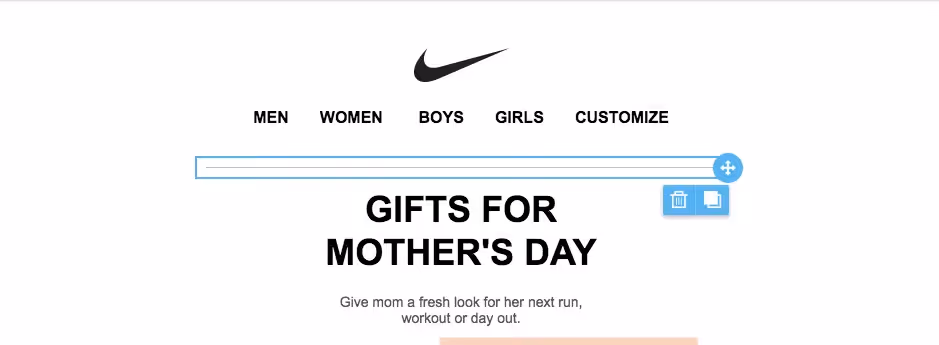
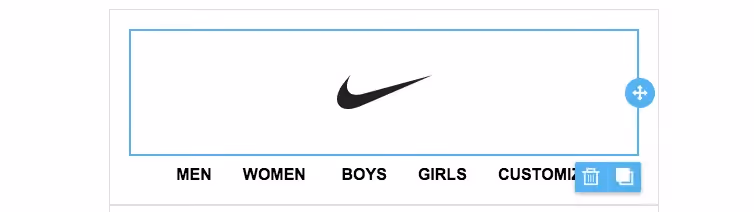
Email inspiration: Nike's Mother's Day gift promotion
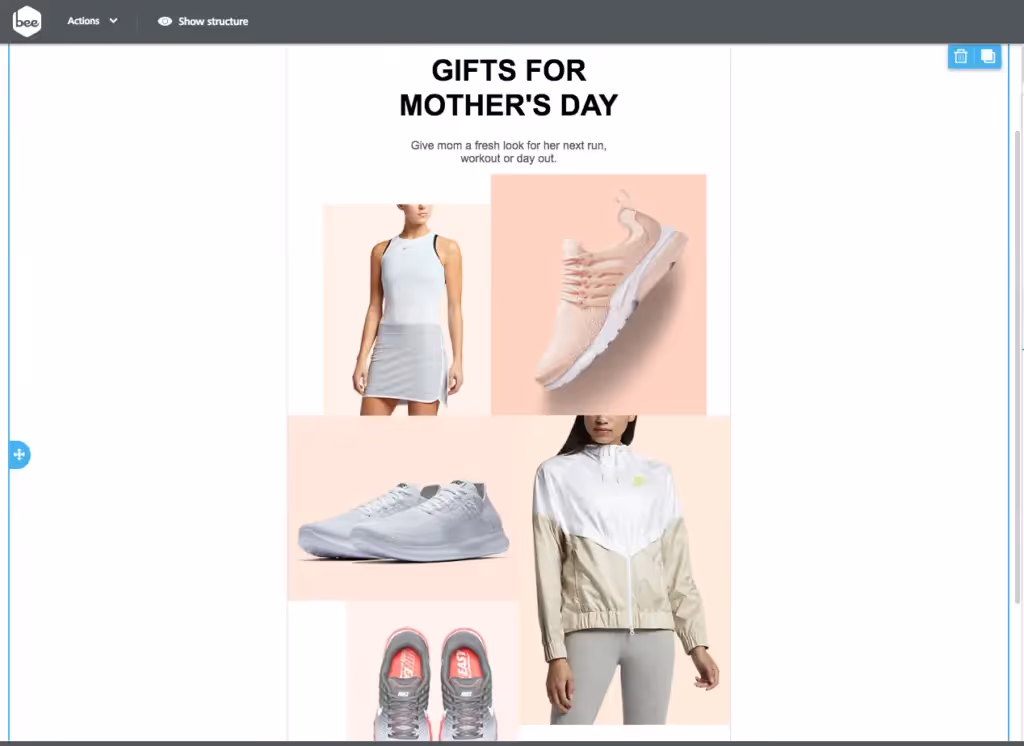
This email from Nike (subject line:Gifts She'll Love on Mother's Day) uses light gray borders and plenty of white space (padding). As a result, the message is light, bright, and well-organized. Here's a snapshot of the first module:
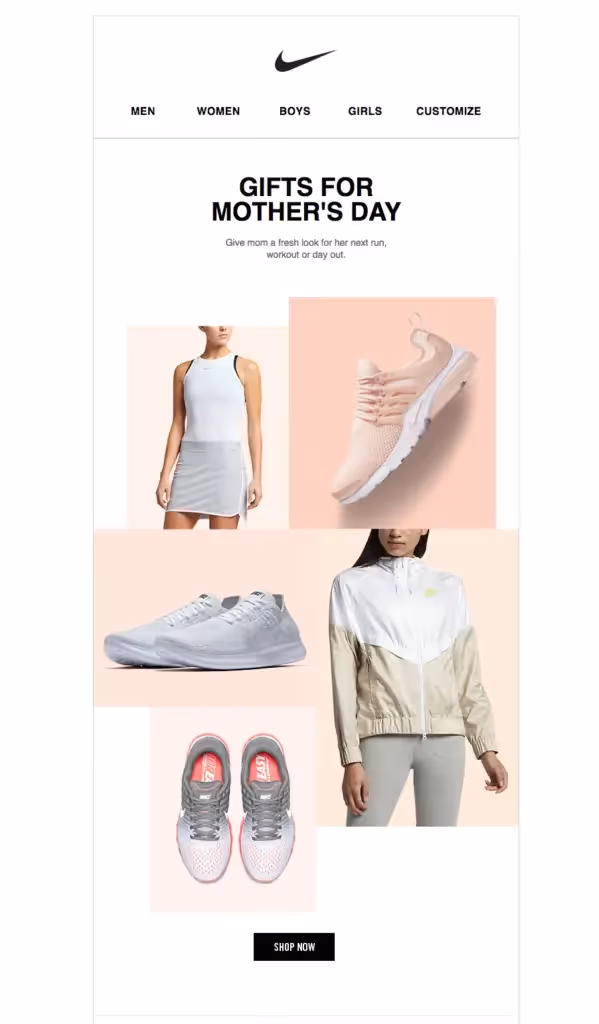
Let's get started!
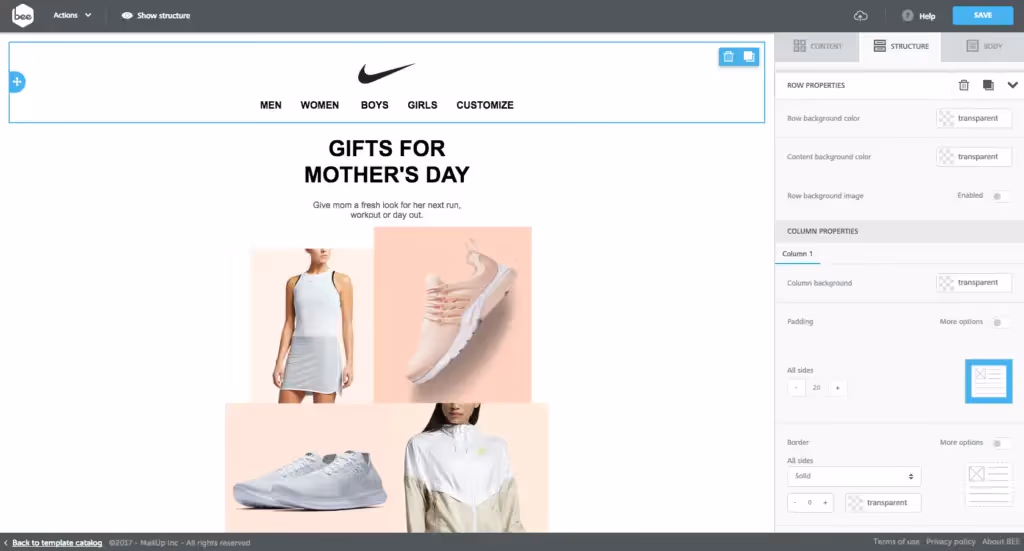
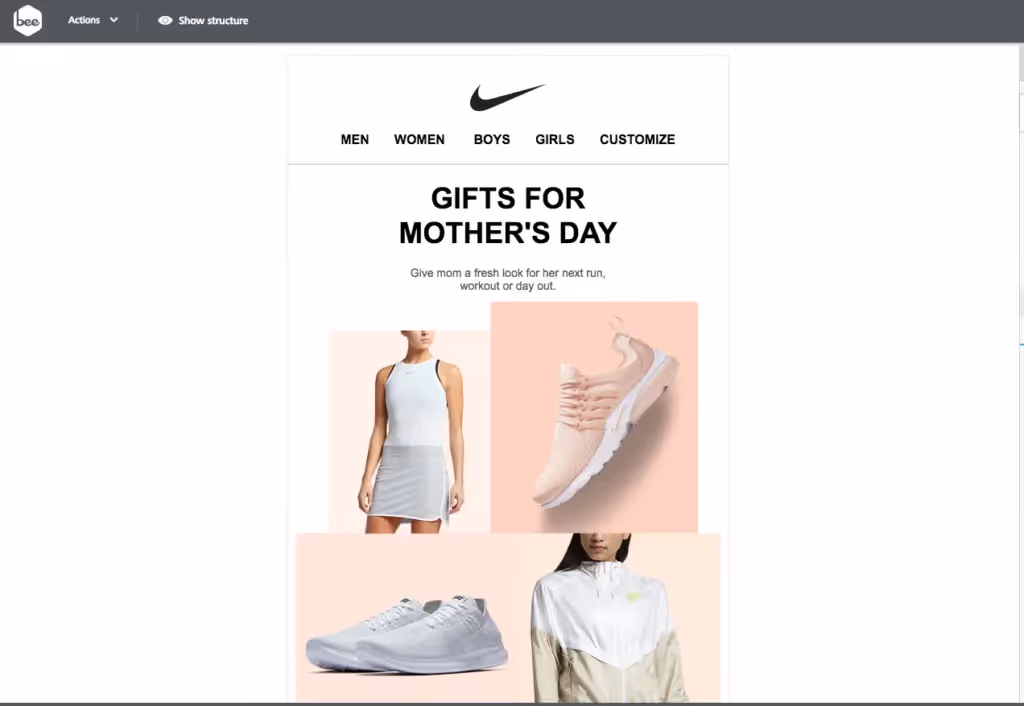
To show you how to achieve the same effect, we recreated the email in the Beefree editor using a simple single column template—first, without borders or spacing adjustments.
How to customize borders in Beefree
1. Add and adjust a border around any email structure.
In the Beefree editor, borders can be added to any email structure. That means any structure in the structure menu can have a borderadded along the top, bottom, right, and/or left sides.
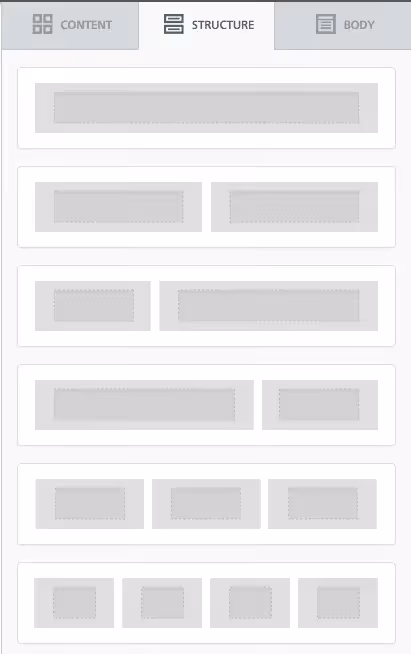
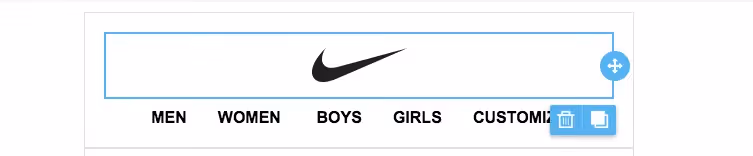
Our Nike email is made up of two single-column structures (the first structure element in the menu picturedabove). One contains the header (Nike logo and navigation menu) and one contains the body of the email (header text, text, and images). To add a border around either of these structures, we simply need to select it, then make adjustments in the border menu on the right.

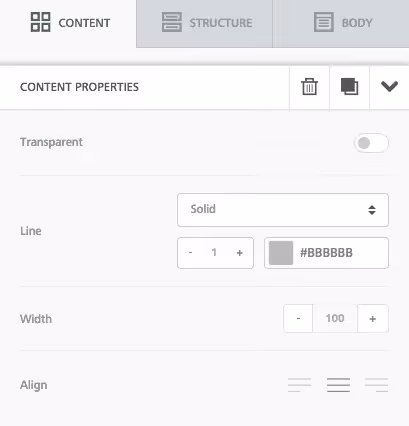
2. Fine-tune the width, color, and style of any border
The border menu will allow you to fine-tune the color, width, and style of a border. We selected the first structure in our email—the one with the logo and navigation menu—then set the border color to gray and began increasing the width...
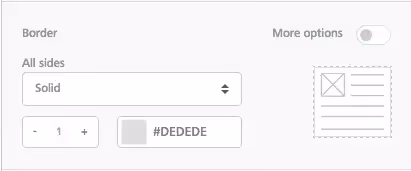
...Now, a border appears around the header, just like in the original email.
Select the body structure and do the same thing, and now there is a border around each section.
3. Add a border that goes around an entire email
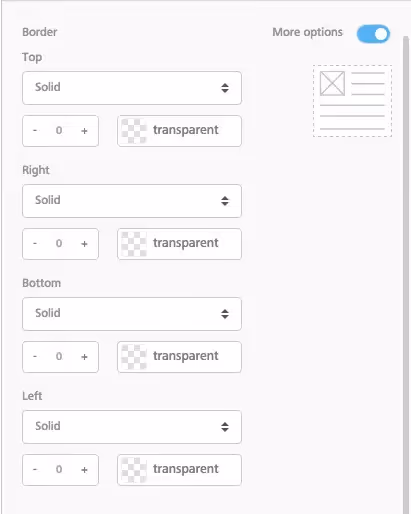
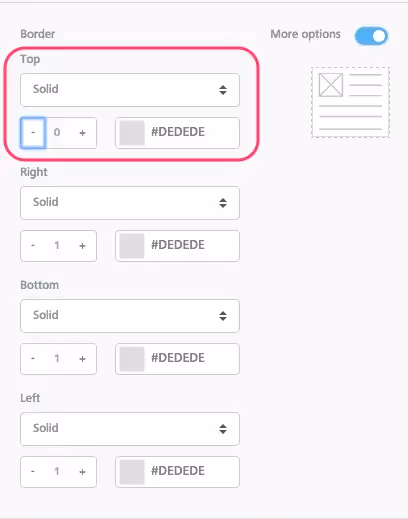
What if we want just a border around the whole email? In the border menu, turn on more options using the slider in the upper right corner. Now, instead of adding a border justaround an entire structure, we can dictate which sides will be bordered: either the top, bottom, right, and/or left sides.
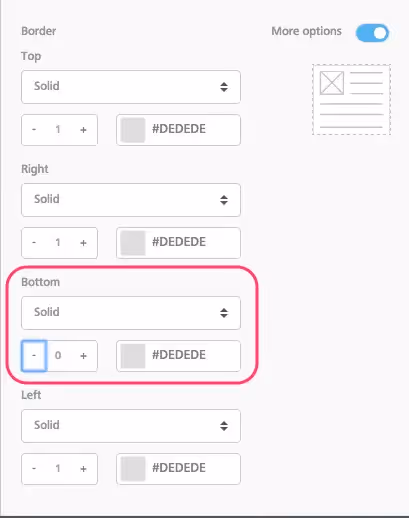
To remove the divider between the first (header) structure and the second (body) structure, adjust the top and bottom borders of each one.First, select the header structure and, in the border menu, decrease the bottom border to 0px.
Second, select the body structure and decrease the top border to 0px.
With the horizontal borders between each structure removed, the email has a border around its entirety.
4. Add a border (or divider) between rows
Instead of a border around the email, what if we simply want a horizontal line between the header structure and body? We can achieve this look in one of two ways. First, we can do the inverse of what we just did. We remove the top, right, and left borders from the first structure, but we keep the bottom border only. Then, we remove the borders fromthe second structure. Here's how it looks:
A second way of achieving this look is to removeall borders and simply drag in adivider from the content menu.
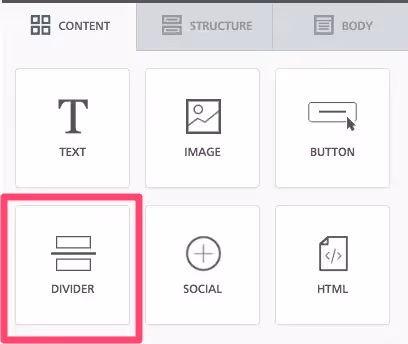
Once the divider is added to the email...
...it too can be customized. You can change a divider's width, thickness, color, and style using the content menu to the right.
How to customize padding in Beefree
Padding can be adjusted around any email structure or content element in the Beefree editor.This means you can increase or decreasethe padding along the top, bottom, right, and/or left sides of any text block, image, or button, or even an entire row or column.
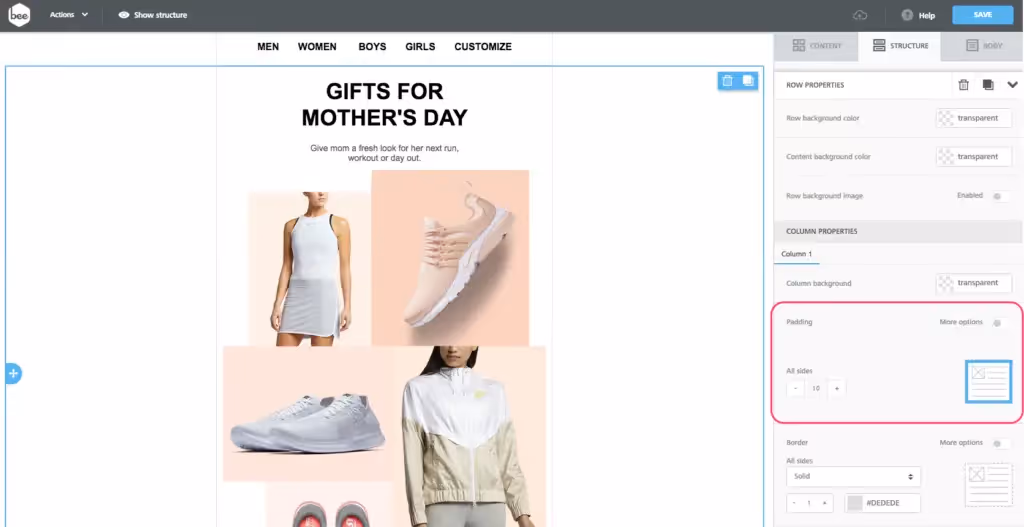
1. Adjust the padding around a structure (like a row or column of content)
In the original Nike email, the images in the body of the email crowd against the right and left borders without any space between them.

To achieve the same look in our email, adjust the padding of the body structure. Simply select it, then make adjustments in the padding menu on the right.
As you can see, there is default padding around the structure. To eliminate padding along the right and left sides, turn on more options...
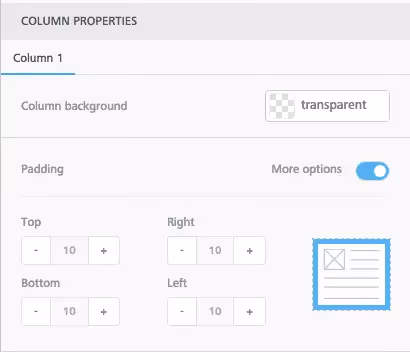
...then decrease the right and left padding to 0px.
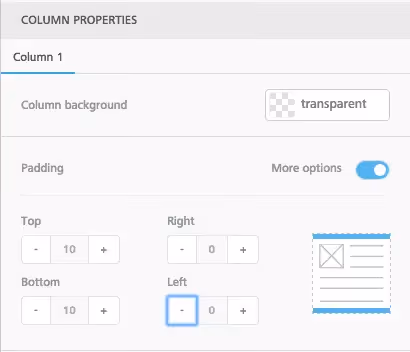
Now, the images touch the borders along the sides, without padding in-between them.
2. Adjust the padding around a specific piece of content (like a button, image, or text block)
Padding can be adjusted at the content level, too. This means we can select almost anything in the email—like the Nike logo, navigation text, header text, images, or button—and increase or decrease the padding around any of its sides. Designers have incredible control over the spacing of elements in any Beefree email.Simply select the item you want to adjust. Let's start with the Nike logo.
Once it's highlighted, the same padding menu appears at the right. Turning on more options will allow you to add more padding to specific sides. In this case, increase padding to the top and bottom.
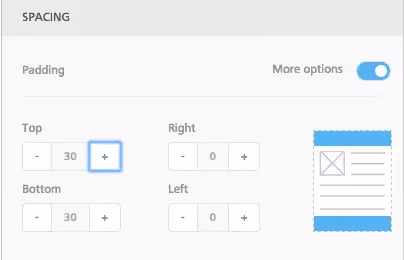
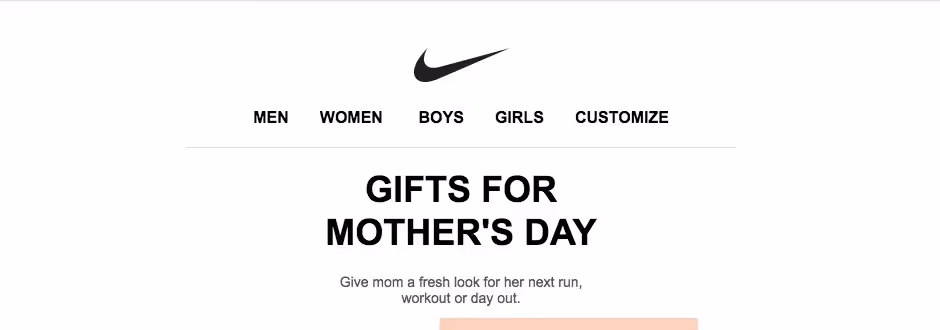
Here's how the header looks now:
As you have seen, adjusting the padding in Beefree is that simple. Try it on any element to create more space and breathability in your email.
Try it out and go Pro!
We hope you found this tutorial on borders and padding useful! If you're not already using Beefree, sign-up for a free account and have access to thousands templates and unbound design features.SaveSave