HubSpot email templates
Browse beautiful responsive HTML templates for HubSpot,
choose your favourite ones and customize them with our drag and drop. No coding skills required!


Beefree's HubSpot newsletter templates
HubSpot is one of the leading educational resources on all things digital and inbound marketing, so it's no surprise its email service provider is top-notch.
Take your HubSpot email marketing to the next level by adding the Beefree into the mix. When you pair our professionally-designed templates with HubSpot's automation capabilities, you can't go wrong. Here's how these two platforms can work in tandem.
Benefits of using Beefree templates for HubSpot
Beefree's email templates are designed for savvy brands that know how vital email marketing is. Each template is created by professional designers and made to fit any occasion, season, or industry.
All Beefree templates are mobile responsive and completely customizable to fit your brand visuals and needs. Simply modify our designs with your brand's color palette and preferred fonts in just a few clicks. You don't need to be a professional coder to use the Beefree builder; the process is made simple with our user-friendly interface and drag-and-drop functionality. Thanks to Beefree's agnostic nature, it is also easier than ever to push emails to your favroite sending platform, including HubSpot.
How to use HubSpot with Beefree
Connecting your accounts
Connect your HubSpot and Beefree accounts before you start designing. Open your Beefree account "Settings" and choose "Connectors." Choose HubSpot and click "Connect." Enter your HubSpot login information in the pop-up (don't worry, this information will not be stored in our platform). Now your accounts are connected and you can effortlessly send Beefree emails to your HubSpot account.
How to export HubSpot templates
Choose an email template from the Beefree catalog and customize it with your desired visuals and text.
You'll need to include a few mandatory design elements required by HubSpot. For example, the footer. Find the HubSpot footer in the Beefree builder under "Rows," then choose "HubSpot footers." When you're through, save the template and click "Exit" to begin exporting.
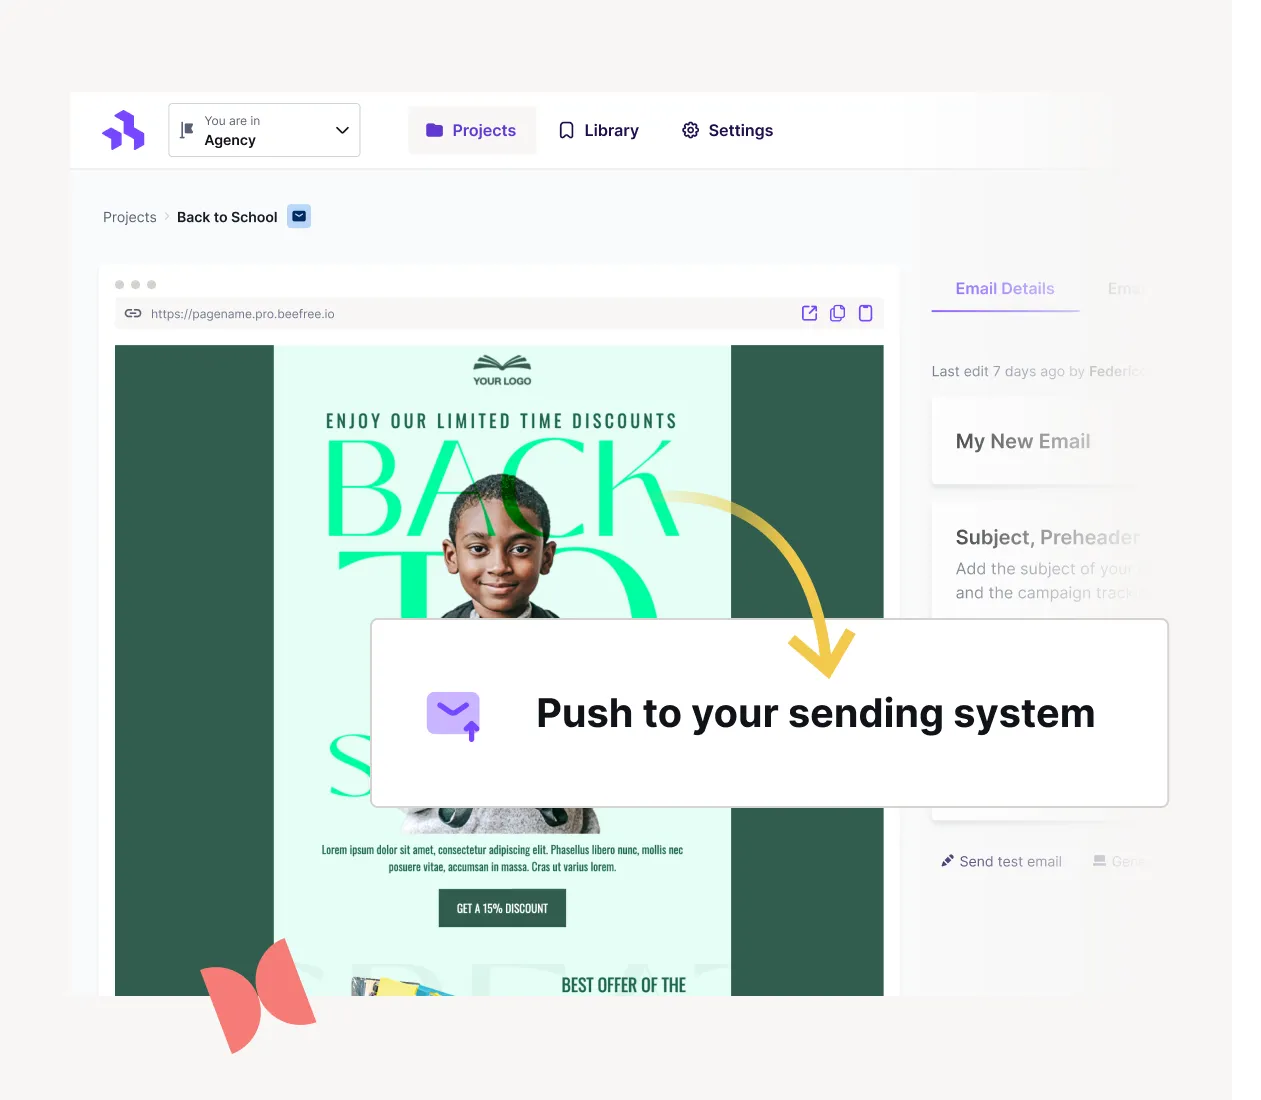
You'll be taken to the Email Details page. Click "Export" and "Push to your sending system," then just select HubSpot and that's it!
Once the template has been sent, you can find it as a HubSpot template when you go to create a new email. The message will also be available as an HTML file in HubSpot's Design Manager (look for the folder titled "beepro"). For more step by step instructions go here!